Showing posts with label Extension Hair. Show all posts

Sunday, October 9, 2011

Yo Gabba Gabba Live! Gabba Inspired Hair Style 2011

Can we say over the top??


Remember way back when a few months ago when i had posted about getting some new things and a few things in preparation for a special style? Well the time has come and i must share the fun we had as well as Diva R's mega awesome style inspired by Yo Gabba Gabba! We went last year to Yo Gabba Gabba Live and went decked out and ready to have a blast! So i vowed from that point to do it BIG since this is a once in a lifetime type of thing to the kids and we had such an amazing time last time.

I had decided to go on a mad goose chase for the perfect color hair in tribute to each character and create something that would be completely obvious and beyond a doubt when finished what it was meant to be. I had discovered all 6 colors in the silky straight Kanekalon synthetic hair that i was searching for at Doctored Locks Online. I ordered one bag each of Hot Orange, Baby Blue, Red, Neon Green, Yellow, and Pink Ice. I knew this would be plenty as i planned on doing small sections of each.  This was after i eliminated tons of local shops and online shops that i found DL. I really had a different idea that came to mind first and then as i began i thought, wow i will not be able to create this exactly as i would like because of Diva R's hair being so fine and this hair not being REAL hair that i bought.  I already had planned on not getting the real hair because this was only a fun temporary style idea and i didn't want to even get into the prices of Remy hair for a style that will only last a short period.  I'm not for putting extensions in Diva R's hair often because there is no need and this stresses the hair if done consistently and tightly.

So i had planned on doing this style the very morning before so that it could be complete by the following day for the concert. I began with our distilled water and spritzed her hair moderately and then i parted her hair in three sections after i made sure her hair was thoroughly finger detangled.


I clearly planned on having three complete sections being a left, right, and middle.  So i clipped the two side sections off individually with a few clips and left the middle section hanging as this was the section i plan to begin with. I decided to put box braids going down the whole center incorporating the extension hair as i went. See below that i just twisted the middle section with my fingers to hold it in place to illustrate the three shaped sections.


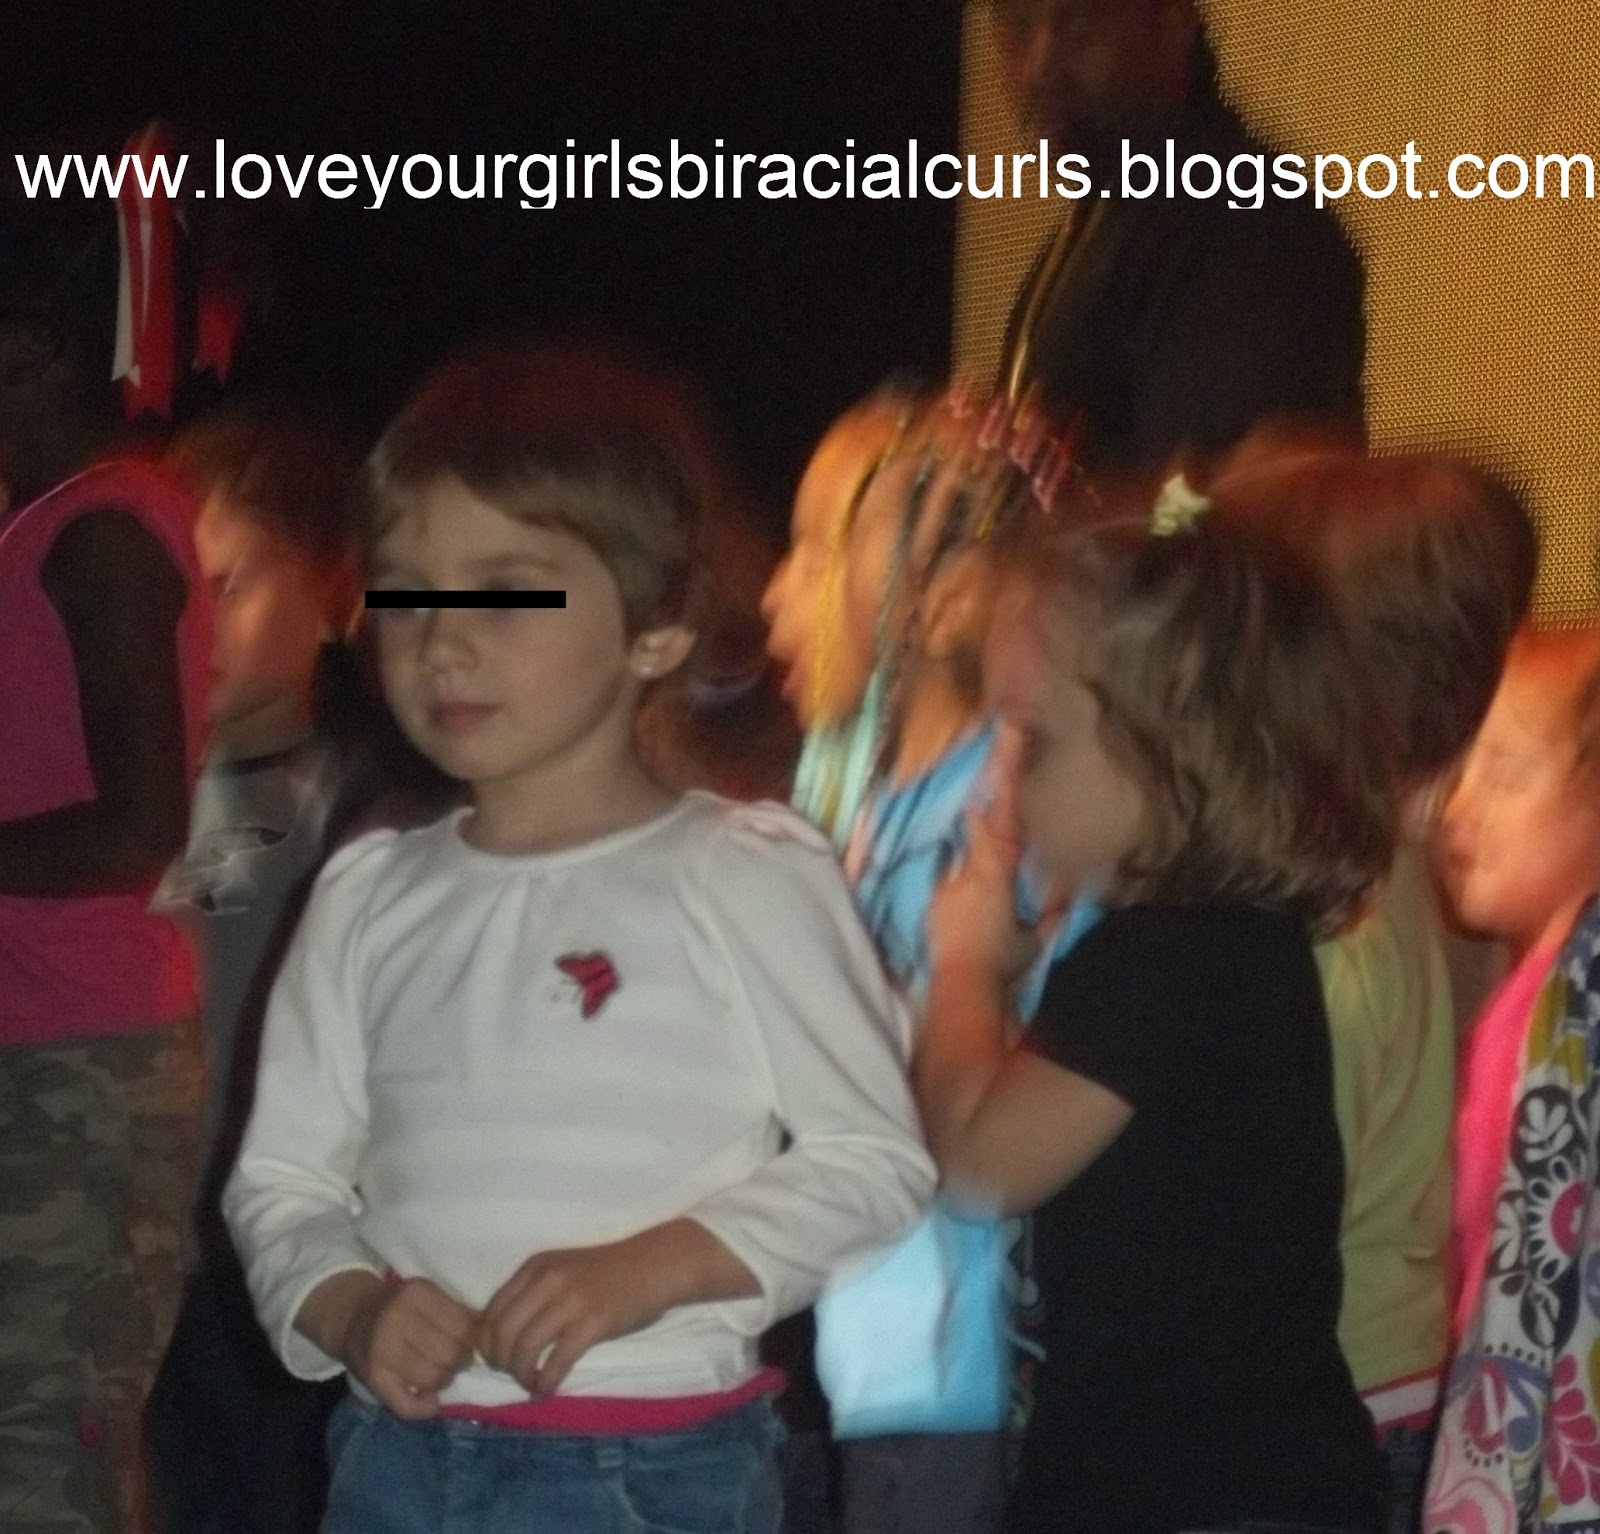
This above side picture is the side of choice that i will be creatively constructing on.

I had planned on creating a style like Rory's from Chocolate Hair Vanilla Care's "Rockin Summer Hair".  That style was embedded in my brain and when September came along i thought AH HA! This is it! So with this being my foundation i of course had to incorporate some of our own flare :)

I began parting all of the little boxes down the center and i began with the baby blue extension hair and braided one row of three across the front followed by one row of pink ice across and one row of yellow and so on until i reached the very nape of her neck where i used blue to finish off the middle section.  My product of choice was the Bee Mine Luscious Balanced Cream Moisturizer because since these were extensions i wanted to do this on her dry hair. This turned out to be a great choice because the extensions proved to go in easily and with the aide of the Luscious there wasn't any frizzies or fly away's and the moisturizer held the hair and fake hair together well. This choice in color pattern worked out perfect because she decided to be Toodee and the blue in the front and back made her shirt pop!

This style took 7 hours total!


I decided to chop about 6 inches of hair of the ends right away because it was long and i sure didn't want that much hair hanging down her back and sides.  I really wanted to curl the ends with curlformers and hot water but time sure didn't allow for that because of Little Bro Z's heart appt taking longer than expected so i had to improvise. I just rubber banded the near ends and left them straight.


Notice the YO on the side? This was my genius thought and i hoped that it worked out I decided to use yellow and orange for the letter to make them pop more and coincide with the patterns already in place.


Show time!!!!


Here is a glimpse of Mommy and Daddy shirts! We were Foofah and sad Brobee <3
We didn't think to get better shirt pictures so these were the best we got... Below is Little Bro Z and his shirt! MUNO!


Here is Diva R proudly wearing her Toodee shirt and Dj Lance paper glasses!


The Diva seriously danced the whole entire time at the concert! She was standing on the seats and just breakin it down! We were the most decked out family there! It was so amazing and the best hour and a half ever spent!


The best part was that Diva R got to get up on stage with BIZ!!!! with the camera just snapping away and noticed only select few kids got to go up there. I was so shocked and this become a dream come true she was living it up dancing up there with all the kids while Biz did his turntables and played music. Then Dj Lance comes out and starts dancing with Diva R! and a few other characters and costumed fruits came out and it was just amazing. I got a few pictures but wish that i could have stood on top of people because the bum rushing that occurred made it super hard to get pics but i did get a few and i even got a few second video! I'm watching You Tube for the video and if no one posts one i will be contacting Yo myself :)


Here is the Diva and Dj Lance!!!! I don't know who was more thrilled her or us? Then Biz did Biz's beat of the day and went up to Diva R and asked her name and for her to repeat after him and to our surprise she did it and just as loud and proud as she could!!! I nearly fell out after that! This was the best experience EVER and not every child gets to do this.


As you can tell we had an absolute blast and the Diva's over the top style has been successfully pulled off and let me tell you how successful this was! We seriously got stopped all day long by all ages of people and from all walks of life and this has caused major attention and major questions with amazement which gave me many opportunities to spread the awareness of proper hair care and about natural hair care in general and to the specific tee.  This really made Diva R's esteem go over the top and from the beginning of the style she was ecstatic to get "colors" in her hair. She seen nothing but pure fun out of this who process and was thrilled as each set of color was put in.

This taking 7 hours was killer on me but i definitely took several breaks and did some while she slept and was finished the day after an hour and a half before the concert.  

Wait and see how long this style lasted and what we have done with it since!

Diva R's Mommy-Kim

Sunday, October 2, 2011

Back To School Hair Style Day 6

So I had left the braid style in her hair through the weekend and for school on Monday i decided to braid some of the braids together into pig tails for a new change up. So i took a picture before hand to show the condition they were in days into the style. The overall condition was wonderful there still were no frizzies though i did have to replace some rubber bands periodically because i ran out of ortho bands.


I did smooth out the edges with more Luscious because her curls were trying to pop out and did pretty much pop out but this couldn't be prevented  because of her lengths being different still from previous bad hair cuts. I do think that if this hair was coarser her hair would have been easier to mold into.

There is nothing special to this style and since her hair is in the extensions i sure didn't want to get it wet as it isn't good to get all extension hair wet.

I just simply unraveled the braids to a certain mid point and then grabbed random sections as i went and created two pig tails adorned with a few of our cute new Halloween Hair Bows.


The unraveling created a nice braid out and it turned out to be super cute when blended and the varying texture along with colors really made for a nice color explosion. This Diva R really loved! She flipped time ad time again over this style and each time i changed it she loved it even more, she was begging me to leave the colors in she didn't EVER want me to take them out. So the pig tail style lasted for a few days and the braids didn't unravel any further. This was also a hit at school everyone kept wanting to touch her hair which even though it may have been tempting Diva R was sure to stop them in their tracks &lt;3

This was a 15 minute change and since i was in a hurry i sure wasn't pressed for something extravagant nor did i want to take Diva R's cherished colors out. So this was our go to and it was on to the next thought for when it was time to take them down.

Diva R's Mommy-Kim

Tuesday, June 28, 2011

New Accessories of Ours :)

Here are some new things we have purchased lately :) The first pictured is of some inspired hair that i will be unveiling the complete product with in September... So i will not detail it now but i will say that i bought them from Doctored Locks and i was so thrilled with their customer service and selections that i will return in the future to buy more stuff as they have more than just hair :) My package came in just one day!


Below are some Orthodontic Bands, i came across these and was intrigued as i have heard about these from some you tube videos and they are much smaller than rubber bands and they are much stronger as well, they aren't as cheap as rubber bands though :( But they are supposed to be healthier on the hair... so we will see as i replaced rubber bands with these.... They were $1.95 a pack.

I took a trip to my fav local beauty supply in search of hair and some other things for a special style and instead of finding those items i found a new different type of silk sleeping bonnet a kids shower cap and some hair clips for sectioning. I have had no luck finding good sectioning clips and i have bought SO MANY so hopefully these work out for us... Ive used them several times and would say that they are good clips, some of the best I've bought.


We have been blessed with new products to review also and the reviews are coming in the near future so stay tuned! Of course they are organic/natural and i have 4 on hand! Those are the only clue's i will give. :)

Diva R's Mommy-Kim

Monday, June 20, 2011

Our 5th Annual Hair Show... Meet Diva C

I must begin by saying this is the first time i have done my little cousins hair and she is 10 years old... She is half Caucasian and half Jamaican. We will call her Diva C :) Her mom (my cousin) came to me asking if i could do her hair and since she figure skates she has to have it a certain way. The desired style to achieve was a cornrowed pony tail with two different colored extensions added.

I had Diva C come over the night before so i could band and moisturize her hair since i knew she had a dryer coarser hair type.  See below the results the afternoon after of my using Cush Cosmetic's Moisturize Me Leave-In after her hair was shampooed before i banded it...


 I just used simple pony o's which were the better quality ones to band her hair with. Detangling was simple and didn't take but 3 minutes or so to do. Her hair type is 3b with a slight softness from the type 2 group. It is and was really hard to break her hair typing down because of how heat damaged her hair is :/ As you can see above her hair looks like its got a whole lot going on but really it just needs a good trim and some deep conditioning love...

So on to discussing her style.... I must admit i was nervous about doing this type of style because i have never been approached with a specific style and design idea which required leaving an x amount of bangs hanging out and the pony being of certain height.  I also have never done hair extensions with cornrows on someone before SOOO this was a big challenge on top of my already consistently learning abilities which i have not mastered entirely.  Its shocking how i haven't done her hair before since shes our family BUT better late than never right?

So i began with the hair, separating it into smaller grouping so i can grab and braid. I spliced the two colors she wanted together and began.. (This was HARD because the hair they brought with them was TERRIBLE quality hair that tangled horribly and once it got knotted up or fell on the floor it was a goner.)

Before i started braiding and as i went i used the Bee Mine Juicy Spritz and the Bee Mine Bee Hold Curly Butter my FAVS :)
Here is the back of her head which was also the very hardest part to braid... I had her in all types of positions and it was a great challenge for me that's for sure!


As you can see the nape wasn't as tight as it should have been or could have been and i guess i could have used more hair in the back too... BUT i cant beat myself up because for a first time this is pretty good. SO i know what my practice head will come in great handy for now.

Skipping a head a bit here is me finishing up the top left of her style. (I am longitudinally challenged LOL and no thanks to my bar height chairs in efforts to help!) I must say the complete doo looks pretty darn good!!!


Here are some close ups


In case anyone is wondering, i rubber banded the ends after i snipped about 4 inches off per her moms request so that she could use curlers dipped in hot water to curl them when they got home :)  Someone please tell me why this took 5 and a half hours to do... Could it have been the fussing with the extension hair? My never doing a ponytail like this before, or the fact that i have to switch positions frequently cause i cant braid in all angles from one standing position? Or just the luck of the draw?


Well here is the final product in a pony tail :) The colors she chose were like a reddish blonde and a blonde color to mix in with her brown natural hair...


I went into this being super critical of my work as it is, i am very picky with my cornrows and styling in general so if i didn't like how i was braiding or how the braid was looking i unraveled it and began again...

Here is the back of the pony tail


Here is the top aerial view with her chosen bangs that she wanted left out so she could straighten them (GASP)

I used one full bag of hair (almost) to do this style and wanted to show everyone what the hair looked like that i used. It costed $1.50 per pack from a local beauty supply.

I have never really ventured in to studying hair and what is best or even what hair is for different styles... So I just went with what my cousin had in mind and did what i do :)

I as well as Diva C was very pleased with the results. She said "Mom i like this style SO MUCH MORE than before (when her aunt did it)" she was really product and it showed! Her hair is a big deal to her and i am super shocked to hear that she liked it more this time around because her aunt is an awesome braider! YAY for me!

One thing i did learn is that i will never recommend this type of hair picture above nor will i ever buy it, its so worth spending the extra money especially if your planning on it staying in long...

Here is a bit of an element that disturbed me and mad me sad :(  Diva C from the beginning of coming over has made it clear she HATES her hair (in those exact words), she stated that she "Wants hair like mine and her moms" :'''( That broke my heart because she has and has always had gorgeous hair her curls are so lovely and if she wouldn't have damaged it with her straightener as she has for years she would be able to cherish the curly blessings she was given. I just cant imagine why she hates her hair so much. I had to pep talk her throughout our hair-time because that's just unbelievable, i am so glad her mom stayed there too so i could fill her in on how to reverse these feelings and turn her hair back into its luscious natural state. I just hope they listen.

It was a real pleasure doing Diva C's hair and they plan on coming back in the near future for another style :)

Hope you enjoyed the show!

How old do YOU feel is old enough to let your child straighten their hair if at all? Have you or do your straighten your child's hair? If so why?


Diva R's Mommy-Kim

Thursday, March 10, 2011

Todays Curlee Style: Medium Sized Box Braids with our NEW Animal Mix Beads!

As you all know we LOVE busy styles and a little bit ago we had got some new Beads and we were waiting for a special style to use them but needless to say what i had in mind didnt work out (FYI DONT buy this type of hair EVER)


Since i had no idea what i was doing buying extension hair i realized after wards that this is the type of hair for crochet or tree braiding... NOT for extension styles... SO i now know next time i will buy the free hair. I only wanted to experiment with the addition hair for a new dramatic look BUT that didnt work this is horrible crunchy hair and REMY is where its at obviously.. So i decided to just do some medium size box braids and incorporate our new beads from CPHB as well as some older new beads we had in our collection.


We used the Animal Mix beads from Curly Princess Hair Boutique and i wanted to use ALOT of them so we put 2-5 beads per each layer giving it a layered look :) these beads are not your normal weight of regular beads so i wouldnt recommend putting more than 5 on each braid unless the hair is thicker.... These beads are so cool! Diva R just loves these and was super excited to try them out.

After her normal washing and conditioning i parted her hair as i went in little medium sized boxes, i used the Bee Mine Juicy Spritz, and the Bee Mine Bee Hold Curly Butter and began braiding each braid... I put the animal mix beads on first and on the very end of each set of beads i put a smaller bead so the hair wouldnt be jaggedly stretched over the shapes then i rubberbanded up the braid and wha-lah after 3 and a half hours we were done.
(This first pic is a not completed pic i did the top half this morning)


I topped it off with a light coat of Juicy Spritz and it was bed time before we knew it :)

Now about those beads we used at the ends... Mind you we used the Curly Butter and the Juicy spritz but the spritz was used mainly on the scalp and roots not ends... What can you tell about the beads in the pics?


Clearly the Curly Butter being a natural and organic product had a disagreement with the paint coating on these beads and the paint dimished :/ Dissapointing us because we havent got to use these beads yet until last night and they are ruined and had to be thrown out. Over night this happened so i had to switch them out with some little rainbow colored bows. Lesson learned.

BUT we are so overly satisfied with the animal beads and the style completion and we plan on leaving this style in for a week! so we will see how long it lasts!

Diva R's Mommy-Kim
loveyourgirlsbiracialcurls@yahoo.com
Find us on FB http://www.facebook.com/profile.php?id=100001959504322